Features
Step-By-Step Guide To Applying Decals To Your Motorcycle

Motorcycles are an amazing way to explore the world around you and express yourself in a unique way. With the right decals, you can make your motorcycle truly yours by giving it a special look that reflects your personality. Adding decals to your motorcycle might seem intimidating, but with the right tools and the right step-by-step guide, you can easily give your bike a custom look. This guide will walk you through the process of applying decals to your motorcycle, from cleaning the surface to choosing the right decals and everything in between. With just a few simple steps, you’ll be able to customize your bike in no time!
What You’ll Need
– A clean motorcycle: To start the process, you’ll first want to make sure that the surface of your motorcycle is clean. You don’t want to apply decals to a dirty motorcycle because they won’t adhere well. Make sure to wash the bike with soap and water to remove dirt and grime and make sure that the surface is dry before you begin. – A soft cloth: Next, you’ll want to make sure to use a soft cloth to clean the surface of your motorcycle before applying the decals. A soft cloth will prevent your motorcycle from being scratched during the cleaning process, which is important. – A spray bottle: Using a spray bottle, you want to make sure to spritz the clean surface of your motorcycle with water. Spraying the water will prevent the decals from sticking too well and make it easier to peel them off in the future when you want to remove them. You can also spritz the decals to make them easier to apply. – A squeegee: Once you’ve applied the decals, the last step will be using a squeegee to remove the water from the surface of your motorcycle. A squeegee is a thin piece of rubber that will help you remove the water without leaving marks.
Choosing the Right Decals
– Material: The first thing to consider when choosing decals is the material. Decals are made from different materials, such as vinyl, acrylic, or paint. Depending on the type of decal you choose, it will last anywhere from a few months to years. – Size: The size of the decals will also be important to consider. If you have a large motorcycle, you probably want to use bigger decals. If you have a small motorcycle, you may want to use smaller decals. – Application method: There are different methods for applying decals, including froo-froo air squeegee squeegee, peel-and-stick, and more. Make sure to choose the method based on the type of decal you choose. – Price: Last but not least, you’ll also want to think about the price of each decal. Decals range from very cheap to extremely expensive, so make sure to choose a decal that fits within your price range.
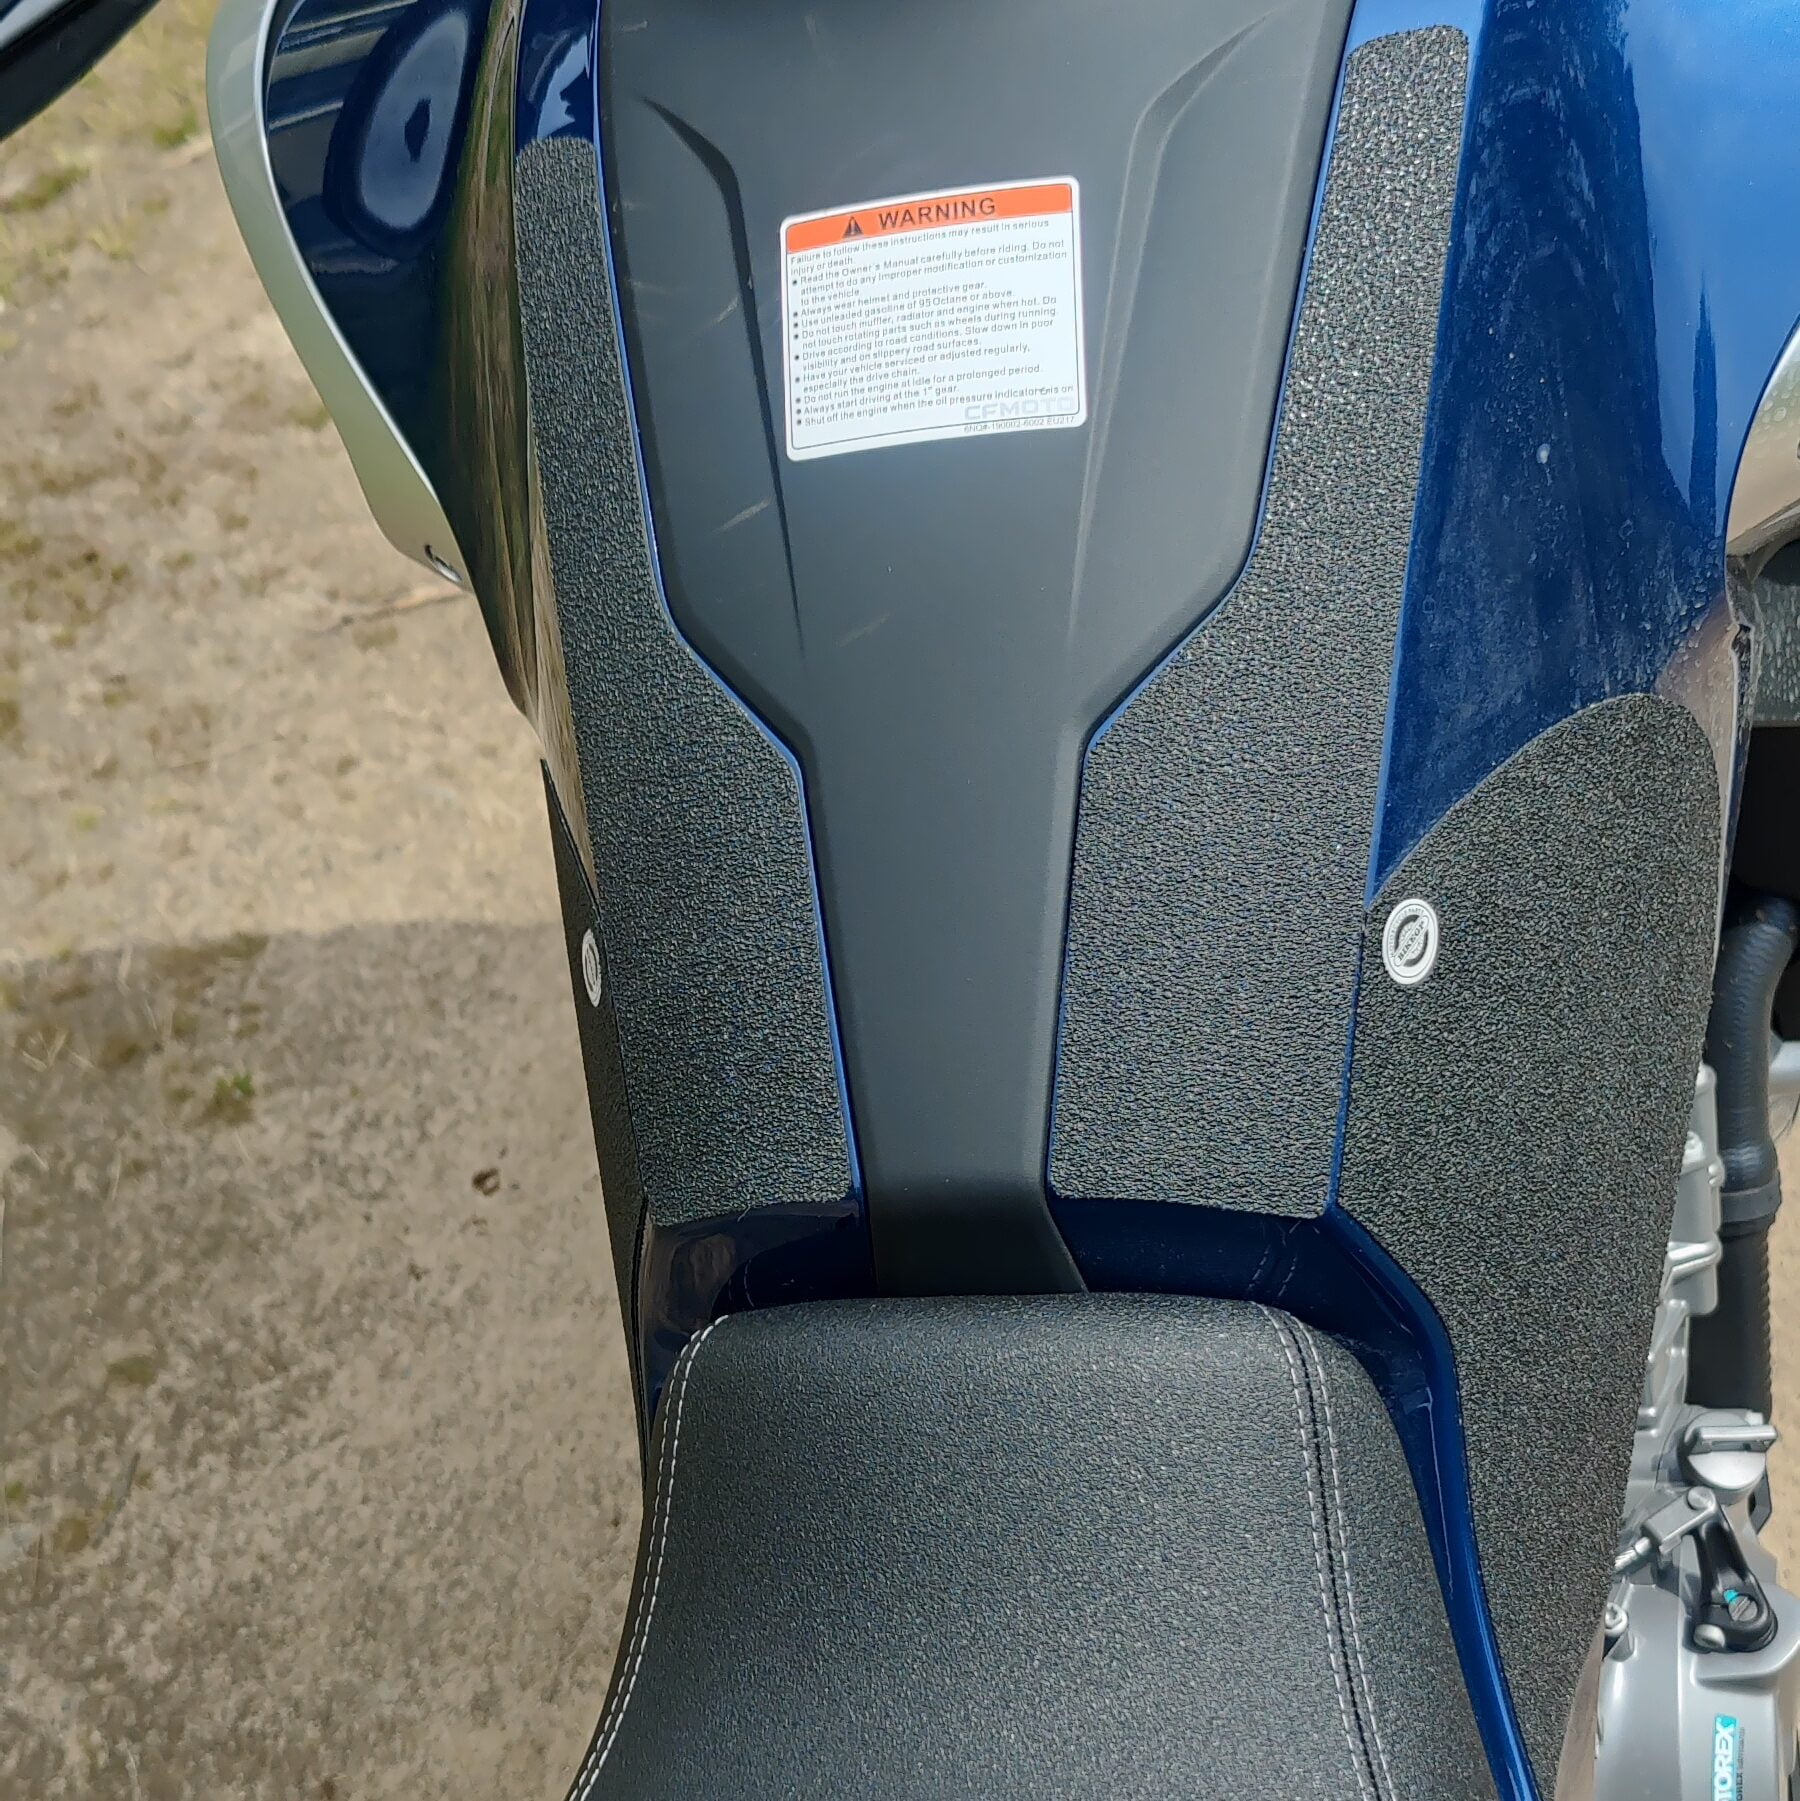
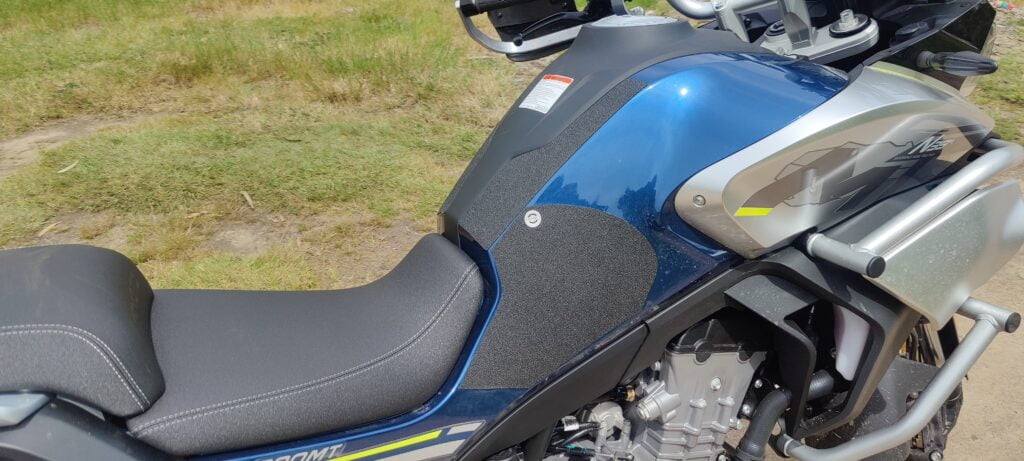
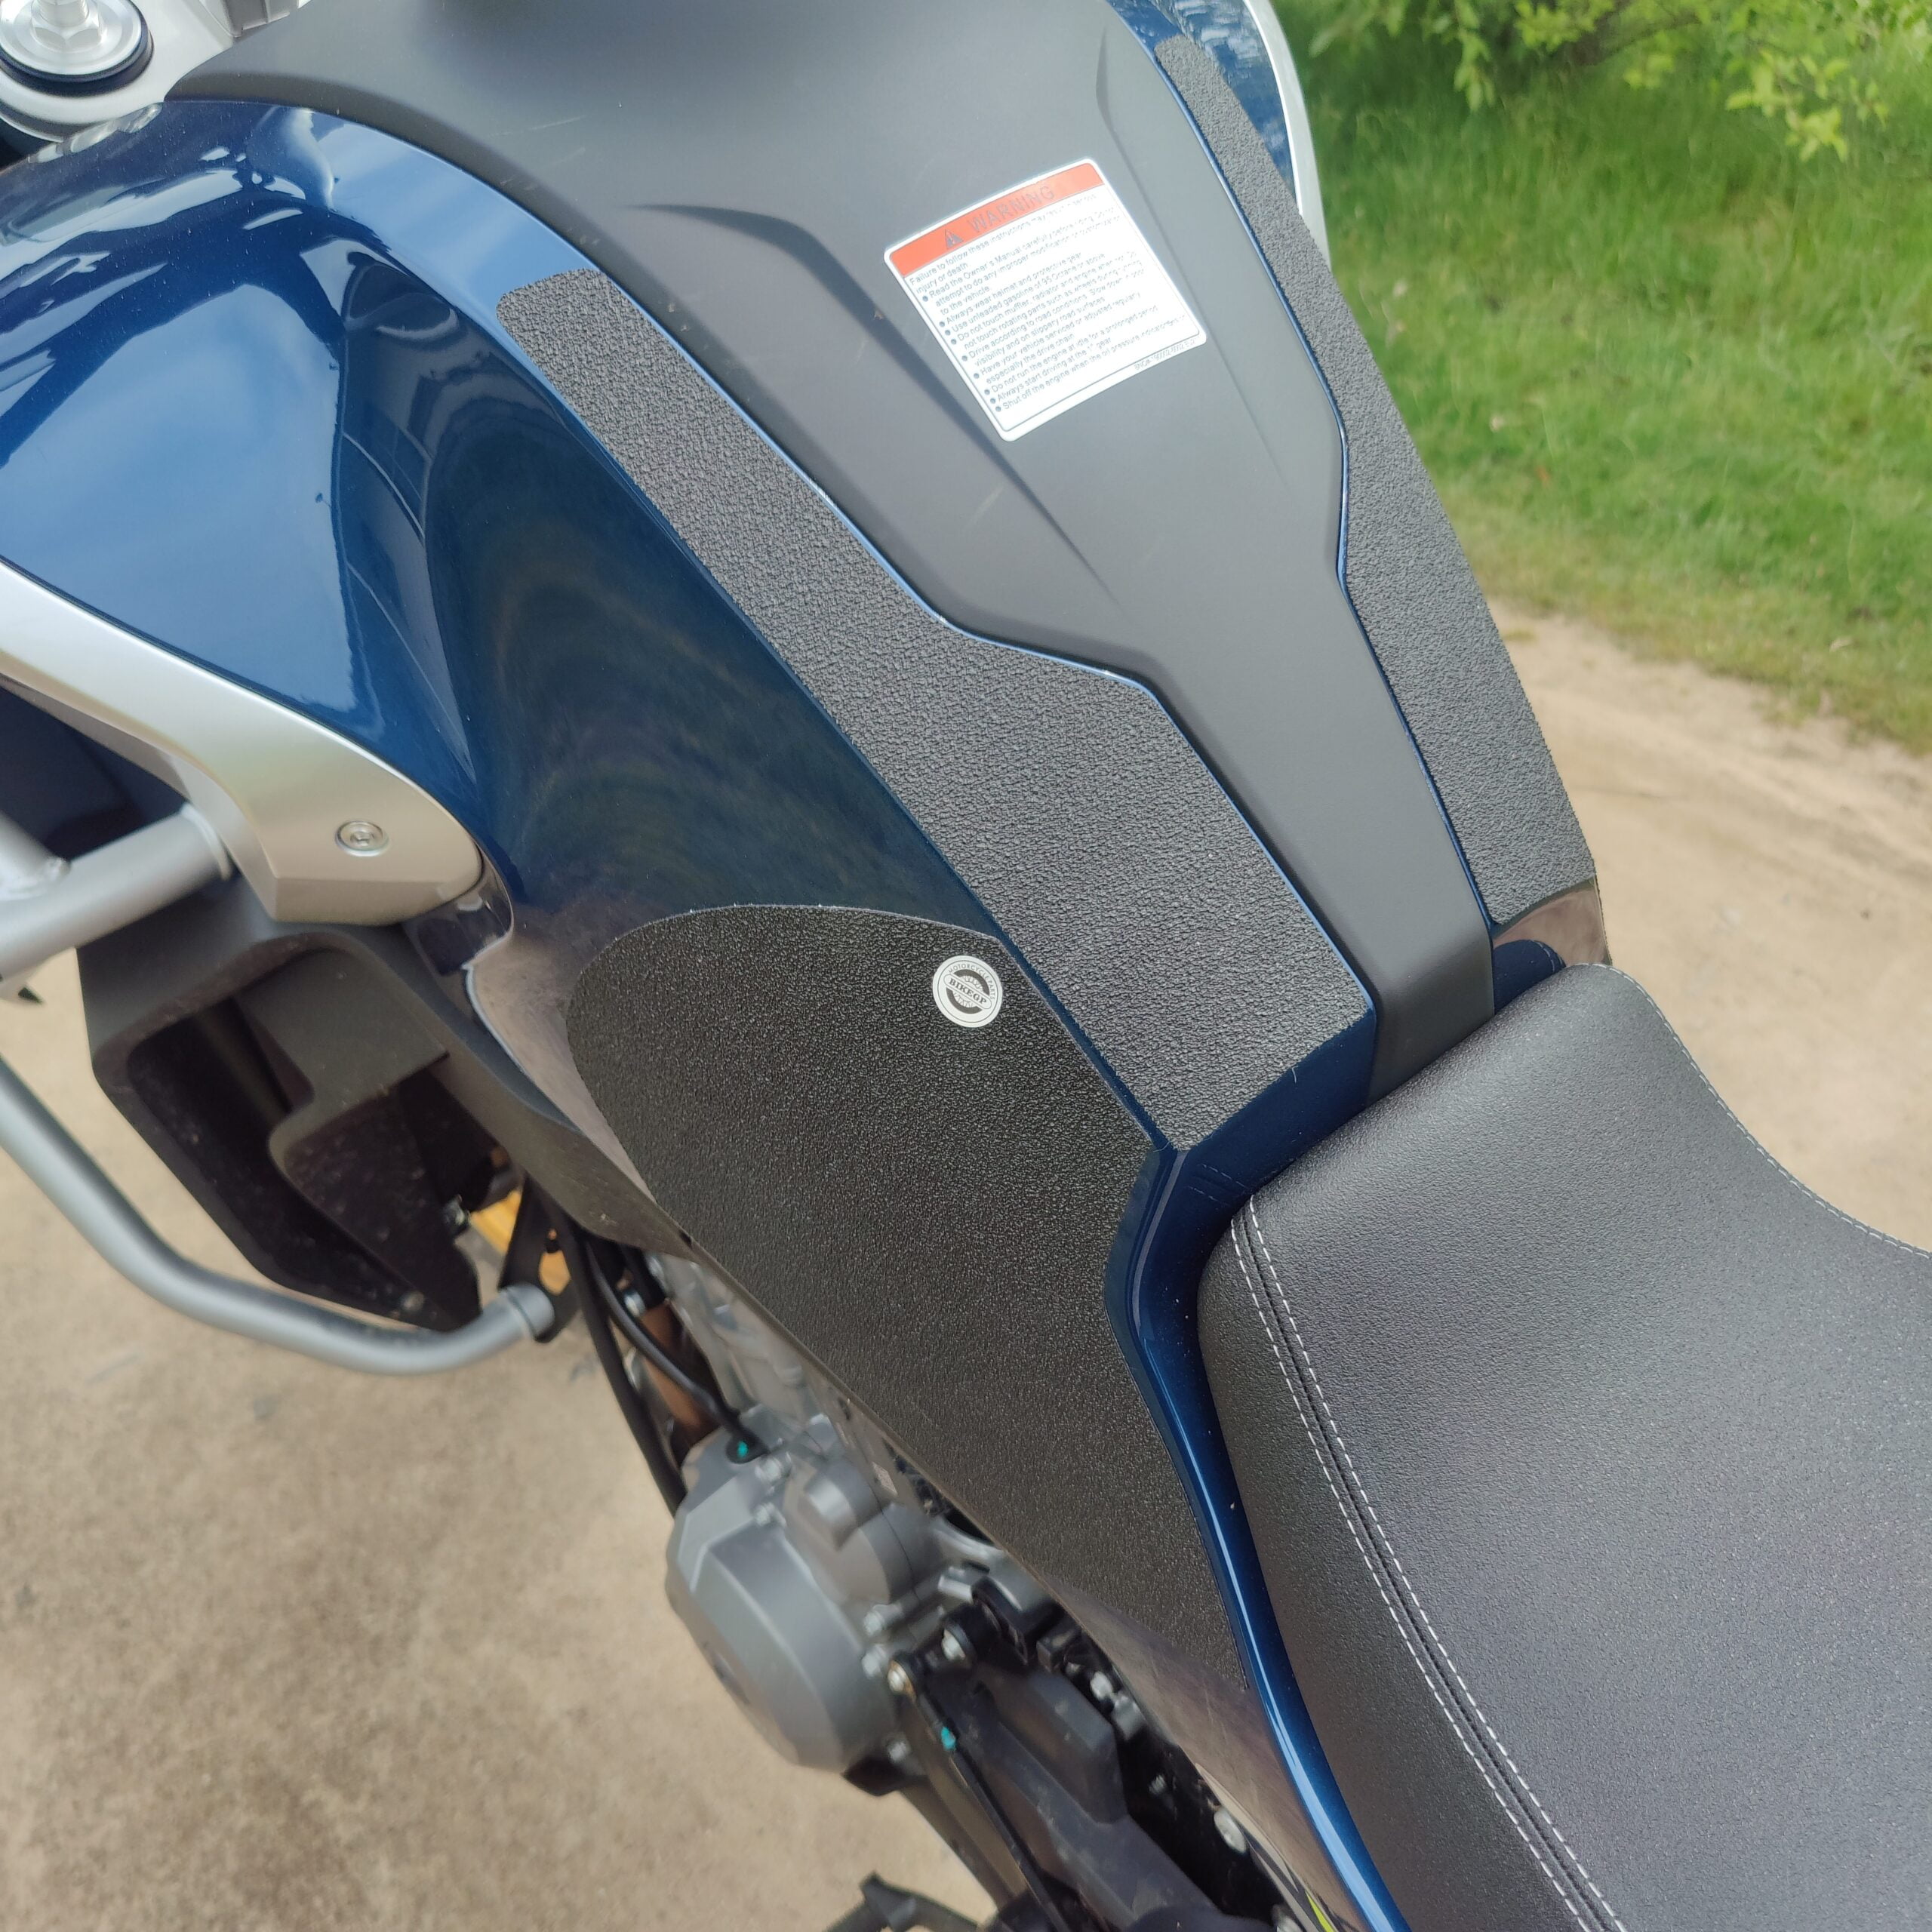
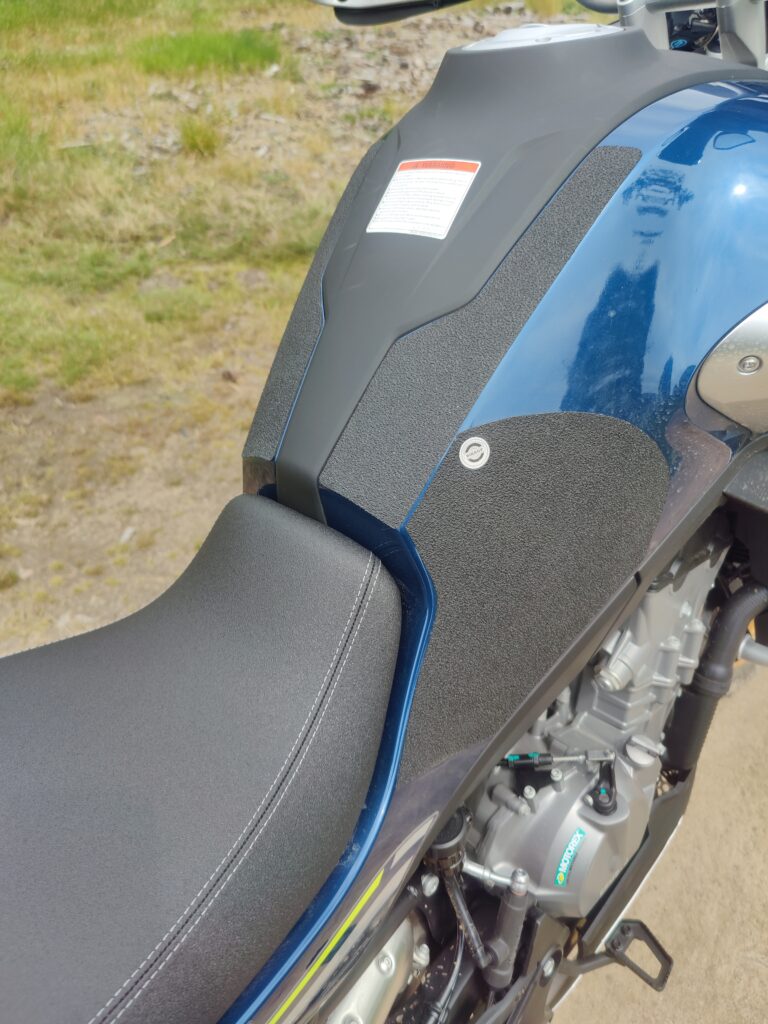
Applying the Decals
– Prep the surface: Before you apply the decals, make sure to clean the surface again to remove any dust or dirt. You can use a soft cloth to wipe away any dirt or dust. – Apply the decals: Once you’ve cleaned the surface, you can begin applying the decals. Use a squeegee to remove the water from the surface, and then apply the decals. – Remove the transfer tape: Once you’ve applied the decals, you’ll want to remove the transfer tape. Be careful while doing this so that you don’t accidentally rip the decals. – Add the finishing touches: Once you’ve removed the transfer tape, you can add the finishing touches to finish your decal job. You can use a paintbrush to clean up the edges of the decal or use a hair dryer to warm up the decal so that it adheres to the surface.
Finishing Touches
– Clean up the edges: Once you’ve finished applying the decals, you’ll definitely want to clean up the edges to make it look nice and clean. You can use a paintbrush to clean up the edges of the decals, or you can use a hair dryer to warm up the decals and make them stick to the surface of your motorcycle. – Seal the decals: To make sure that the decals last, you’ll want to seal them. There are lots of different sealants that will help the decals last longer, so make sure to choose one. – Be careful while riding: Once you’ve finished applying the decals, you can ride your motorcycle as normal. Be careful, though, and avoid riding your motorcycle in extreme conditions to make sure that the decals last as long as possible.
Troubleshooting Common Issues
– Decals peeling off: There are a few reasons why the decals might start to peel off. The first is that you didn’t clean the surface of your motorcycle properly before applying the decals. Another reason could be that you applied the decals in really warm weather and didn’t seal the decals. – The decals aren’t sticking: The decals aren’t sticking because you applied them in really cold weather and didn’t seal them. Another reason could be that the surface wasn’t clean enough before you applied the decals.
Tips For Long-Lasting Decals
– Choose the right surface: Make sure that you apply your decals to the right surface. If there are lots of curves on the surface, you won’t want to use a sticky decal; you’ll want to use a non-adhesive decal. – Apply multiple coats: To make sure that the decals last for as long as possible, you can apply multiple coats. Apply the first coat, wait for it to dry, then apply a second coat to seal the decal for maximum protection. – Protect the decals: To protect the decals, you’ll want to be careful while riding your motorcycle. You don’t want to ride your motorcycle in extreme conditions and be careful while cleaning the motorcycle.
Conclusion
Decals are a simple and easy way to customize your motorcycle. There are so many different decals available, and you can use them to reflect your personality and interests. Once you’ve applied the decals, you can ride your motorcycle wherever you want to go and show off your unique style to the world!